
A Photo Record in ProofLog turns a captured site photo into a structured record you can review and keep connected to the work.
This guide follows the real iPhone capture workflow.
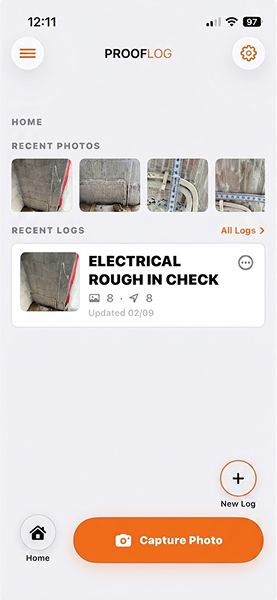
Step 1 — Start from the Home screen
From the Home screen, tap Capture Photo to begin a new photo capture.
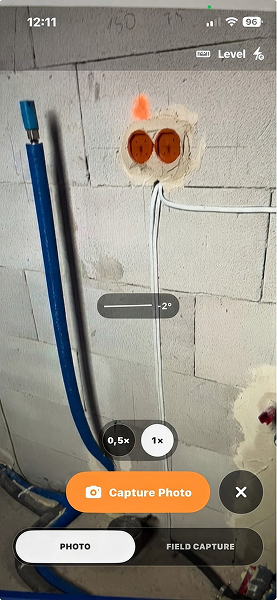
Step 2 — Capture a photo in Photo mode
Make sure you are in Photo mode, frame the work, and tap Capture Photo.
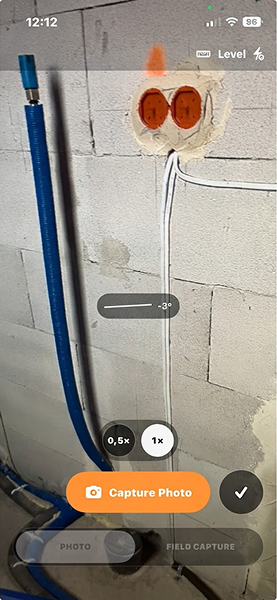
Step 3 — Confirm the photo
Review the captured image and tap the checkmark to confirm it.
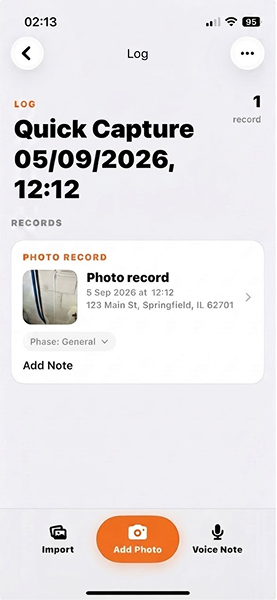
Step 4 — Open the new Photo Record
ProofLog returns to the Quick Capture log and adds a new Photo Record.
Tap the Photo record card to open it.
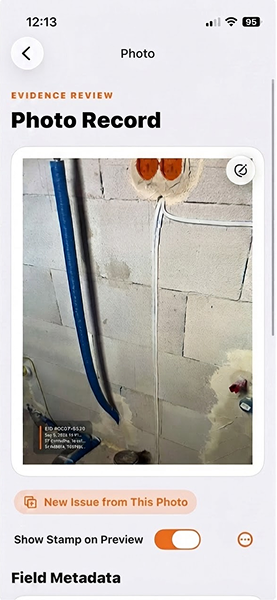
Step 5 — Review the Photo Record
The Photo Record opens in Evidence Review.
Review the image and continue working with the record and its available field information.
What you have created
You now have a Photo Record inside the Quick Capture log.
The captured image remains connected to the record instead of existing only as an isolated photo.