
Field Capture lets you document a site as one continuous record, combining the field session with captured photos and supporting context.
Step 1 — Open Field Capture
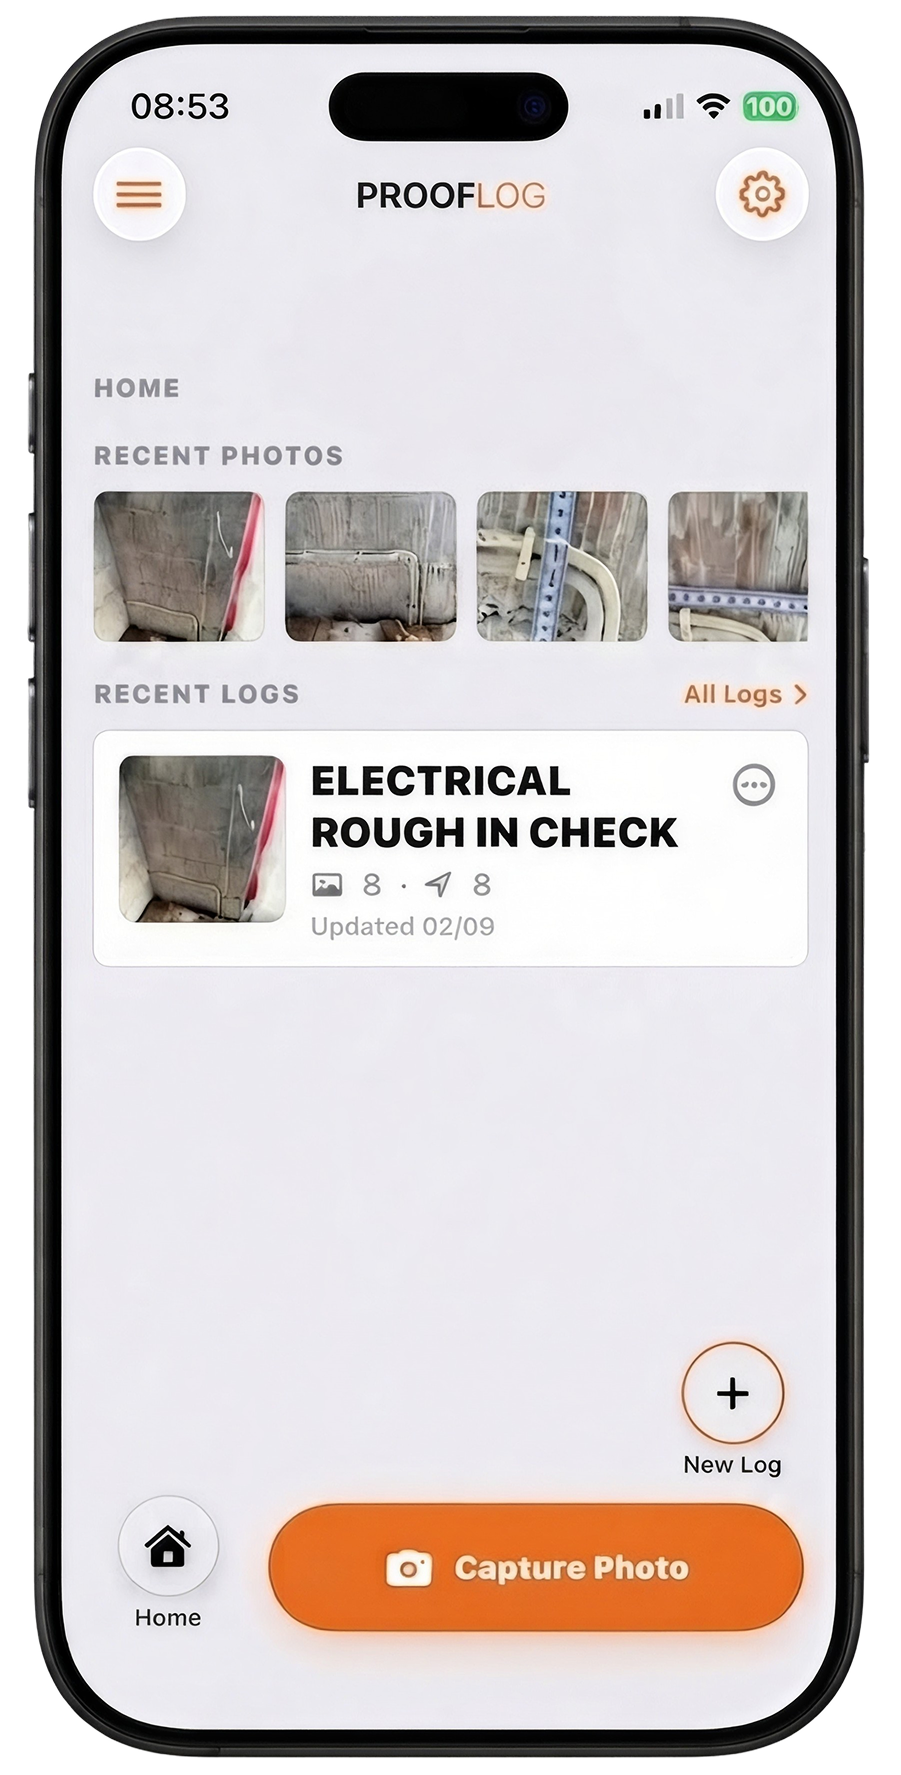
From the ProofLog Home screen, tap the menu button in the top-left corner.
Step 2 — Choose Field Capture
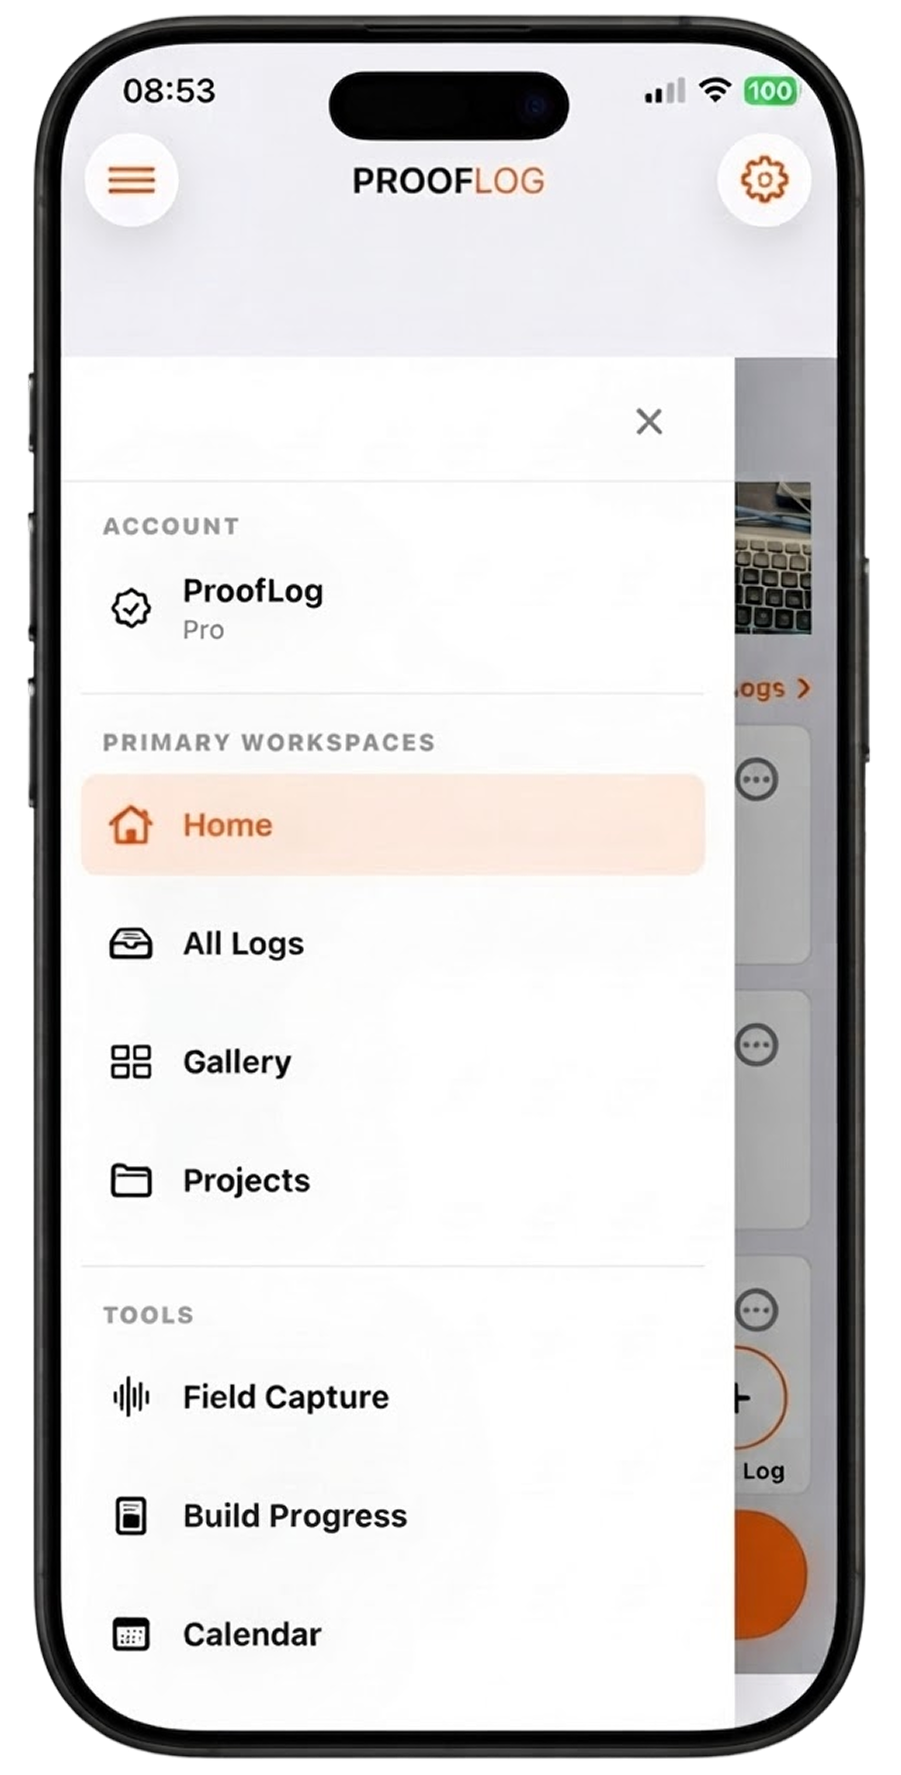
Under Tools, tap Field Capture.
This opens the Field Capture workspace.
Step 3 — Start the session
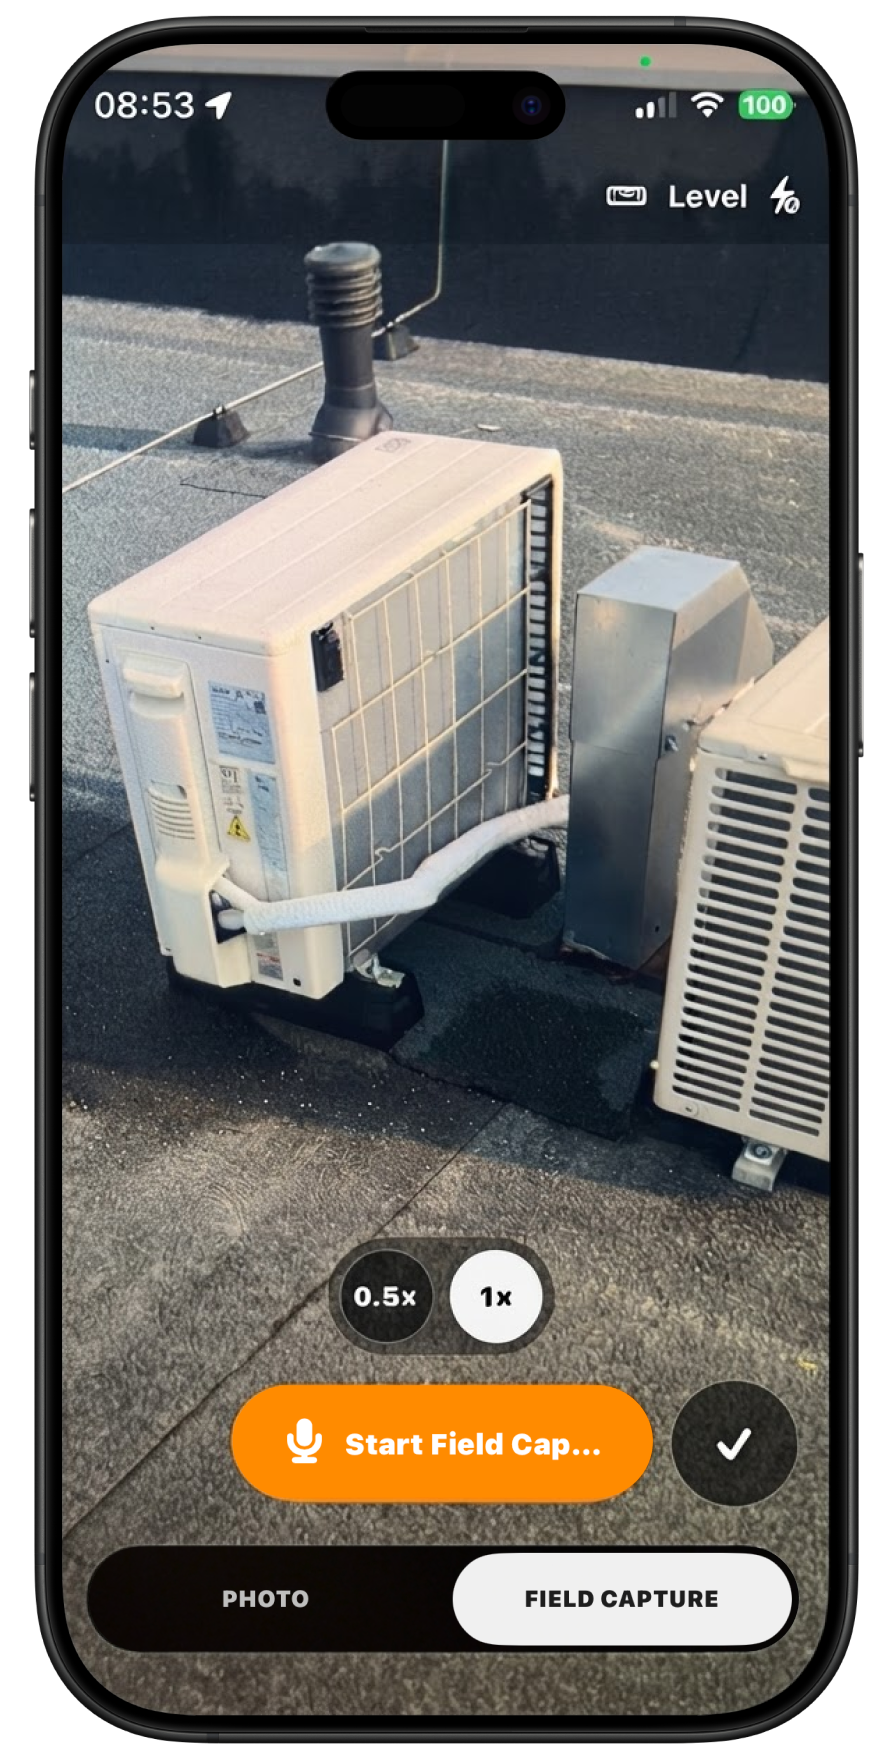
Select Field Capture at the bottom of the camera screen, then tap Start Field Capture.
This begins a continuous field session.
Step 4 — Capture the site
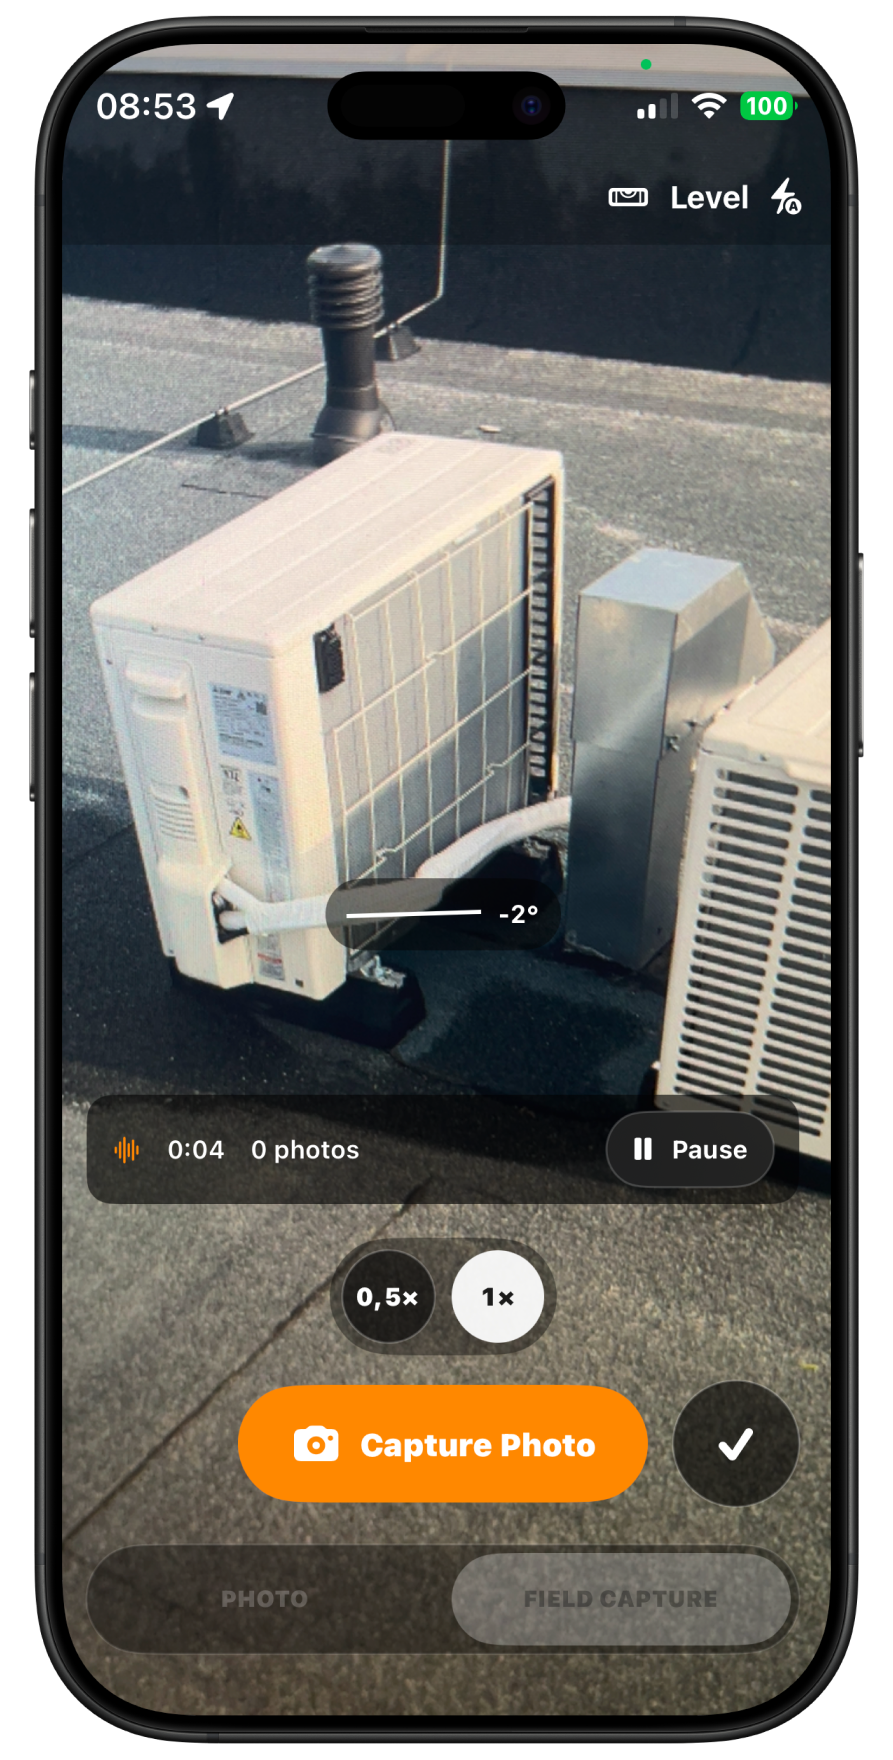
Move through the site while Field Capture records the session.
Unlike normal photo capture, this keeps one continuous site session with photos added inside it.
Tap Capture Photo whenever you need a visual record.
You can pause the session if needed.
When the field capture is complete, tap the checkmark.
Step 5 — Review the saved Field Capture
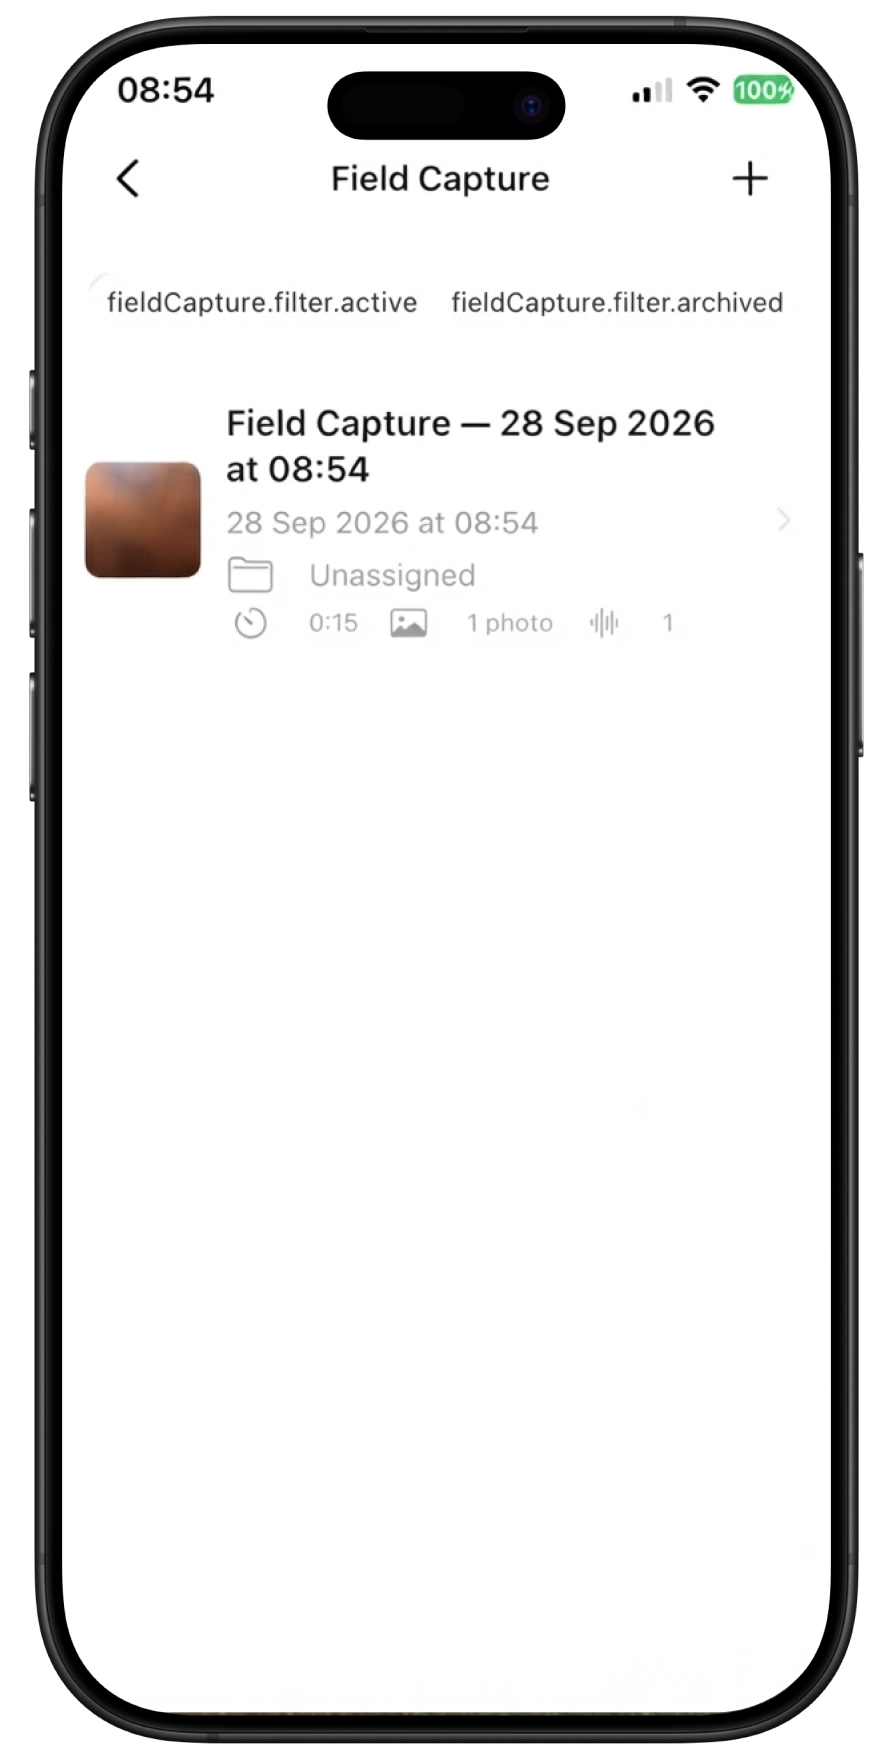
Your Field Capture is saved as one record.
The record can include:
- duration
- photos
- audio
- date and time
- project assignment
Tap the saved Field Capture to review it.
One site visit. One continuous record.
Capture what happened, add visual evidence as you move, and keep the field session together in ProofLog.